
Yes, I did this :D I'm shocked as well!!! but it's so cute & fun. And NOT
nearly as hard as I thought it would be!!!
Supplies I used ~
- lamp shade
- Mod Podge
- hymnal pages (any pages will work)
- scissors
that's it.
then to put my trim & decorations on
- hot glue gun & sticks
- more hynm pages
- burlap

This is how it started out (please excuse my crafting mess). I've had 2 of these shades since we were married and my sister knocked one over while she was helping me spring clean and my puppy, W., chewed on the other one when he was a puppy. So this being said, they needed a facelift.

So I started by using old hymn sheets that were left to the Mr. when his grandfather passed. I didn't want to touch these old hymnals because of sentimental value. Then one day, Mr. says to me, "Use them! That's what they're for!" oh how I love him.
So I did the corners first. I cut small corners so it's easier to work with. I used Mod Podge to secure it to the shade. It sticks immediately! & I started to feel frazzled at this point. It looked UGLY and all I could think.. I ruined his grandpa's hymnals for NOTHING.

But I stayed calm enough to keep Mod Podging. and after the corners I started cutting the hymnal pages to size to adhere to the shade.
Hey!!!! It's taking shape. I did a tiny happy dance.

So I mod podged over the whole thing. and it started to look shiny and finished.
So I excitedly show Mr. because he's my biggest supporter and it was in memory of his grandpa. He smiles. "It's awesome, babe." I'm grinning like a fool. "It needs trim, not?"
I stop. He expects me to do more with this lamp? I'm frazzled the way it. (this is my first "bigger" project. I know for the season crafters, this is nothing. :) I'm a newbie.)
So I decided to take the easy way out and why black ribbon with some clear glass beads. Classy, right? Then one night I couldn't sleep and found this AMAZING tutorial on Pinterest.
(Pinterest addict right here. I admit it.)
So I sit there going, hmm.. I have extra hymnal pages... and the tutorial looked pretty easy. Oh what the world, let's try. It was early in the morning & I took no pictures of this part, but there is no way I could explain it as well as the link above. TRY THEM!

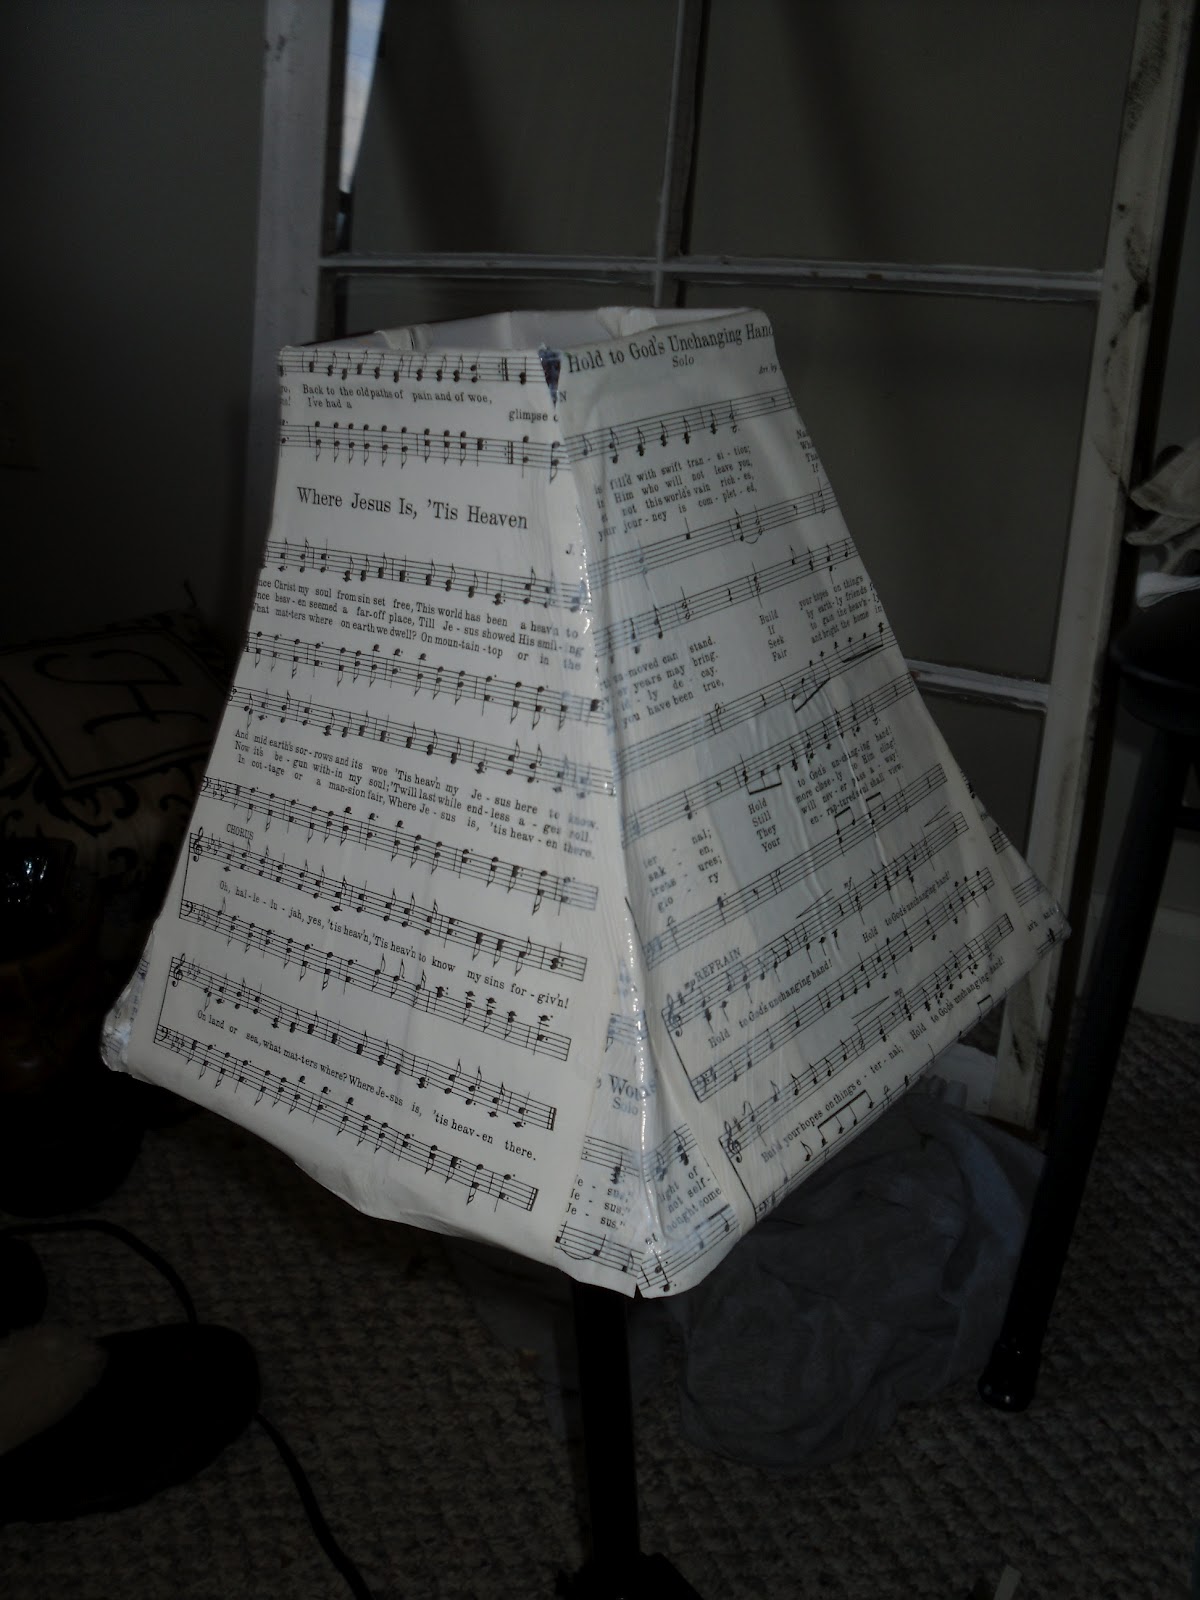
So this is the finished product. And since I'm slightly obsessed with burlap, I trimmed with the burlap I already had. I leave it sitting on the floor hoping Mr. would notice it when he got up early for work in the morning.
next morning. I come stubbling out of bed and hurry out to see if the lamp is still as cool as I remember. Laying by my laptop is a giant piece of paper that says "AWESOME LAMP :-)" This warmed my heart. Memories AND an amazing new lamp for $0.Yes, I am excited about this.
This is first of many projects. Check back :) next will be the burlap banner that you can kind of see in the top photo. It also cost $0!
Thank you so much for stopping by ~M
